


If you want to change the color of the line, just click on the little box to fix the white background. Then you can safely draw your laynarte.
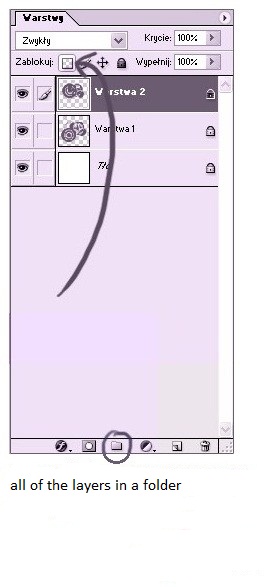

Group layers background.
The background is painted on the bottom layer. I painted the background in black and white in order to then be easier to paint.


Layer to Overlay
At this point, I'm in the rough sketches a general mood of the picture. Create a new layer just above the black-and-white. Select Overlay and paint any color what you want. Do not forget about the light and shadow.

The main colors of the character.
It is time to layer, which is located directly under laynartom. Adding color of the character - a very difficult stage, so I start with a simple base colors. Then I fix this layer with the magic button (above) and begin to paint. To do this, the following modes for the brush:
Shadows - Multiplication
Light - Overlay

Background details.
Create a new layer above the one you already painted the background color (step 3). At this point I added the details surrounding the hero world.


The top layer.
Now is the time to work with the top layer. Here I have drawn characters, part of the background around them, and similar finishing touches. I like to devote laynart, so I will add a few lines around the characters (this is particularly noticeable in the corners).
As you might have noticed some of the places and characters in the background blurred and inaccurate. This gives the picture is the same "cartoon" effect.

When I finished painting, I brought him (Layer) -> (Flatten). Then I double sharpen (Filter) -> (Sharpen) -> (Sharpening).
I changed the size of the drawing 2-3 (1000 pixels) in order to prevent smearing (pixelization) clear lines (for example, clear land laynarta or small parts). This is very useful for graphics style laynart where lines are most visible.
Here and ready for you!
A few tips on setting up a brush:
I use the same brush, just changes the mode.
While using the brush, press "Alt" to call up a pipette, to save time in choosing the right color.
